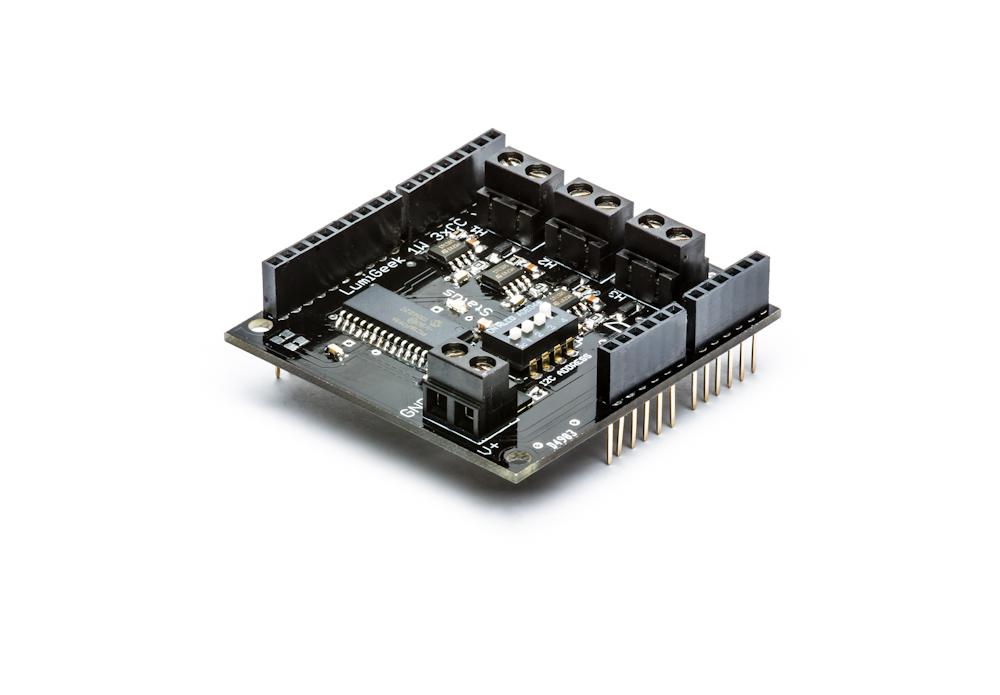
3xCC 1W Constant Current Shield for Uno
Use this shield to drive ultra-bright 1W RGB LEDs. Multiple 1W LEDs can be daisy-changed together to increase brightness as they all change color in unison.
Our shield handles the colors and fades of the LEDs so you are free to write code for your project instead of writing code to colorize and fade LEDs.
Number of Constant Current Drivers: 3
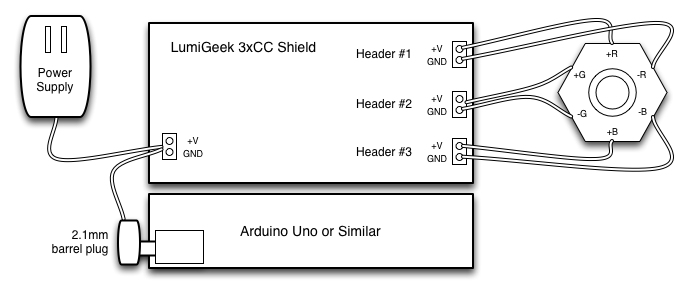
Number of RGB Headers: 1
Input Voltage: Maximum 40V ???
Output Power Rating: To be determined by number of 1W LEDs. Maximum 30W???
I2C Address: Selectable from 0x50 to 0x5F with dip switches
I2C Macros: Our active LED shields include intelligent macros to offload color fades and other complexities. While our library for Arduino makes it easy to call these routines with a single line of code, the I2C can be called directly from other devices such as RPi.
| Macro Name | I2C Address | I2C Command | I2C Parameters* |
|---|---|---|---|
| Jump to Color | set by dip | 0x21 | Header,R,G,B |
| Fade to Color | set by dip | 0x22 | Header,R,G,B,Speed |
| Auto Fade between Colors | set by dip | 0x23 | Header,R1,G1,B1,R2,G2,B2,Speed |
| Auto Jump between Colors | set by dip | 0x24 | Header,R1,G1,B1,R2,G2,B2,Speed |
| Auto Fade between Random Colors | set by dip | 0x25 | Header,Speed |
* While the 3xCC is a single-header shield, a header number of 1 must be used with direct I2C calls from outside our library.
Sample Code:
#include <LumiGeek.h>

// create a reference to our shield
LumiGeek3xCC lg3xCC;

void setup() {
  // initialize the LumiGeek library
  LumiGeek.begin();
  LumiGeek.setDebug(true);

  // get a new reference to a shield with dip switches = |1|1|1|0|
  lg3xCC = LumiGeek3xCC(0xE);

  // blackout any previous header settings and wait one second
  lg3xCC.blackout();
  delay(1000);

  // setup an automated blue-to-red fade on header #1 with just one line of code and let it run for five seconds
  lg3xCC.autoFadeBetweenRGBs(0,0,255,255,0,0,50);
  delay(5000);
}

void loop() {
  // call a random color fade on header #3 each time through the loop and wait two seconds
  lg3xCC.fadeToRGB(random(),random(),random(),10);
  delay(2000);
}
Important Notes:
At the upper limits of power consumption, it may be necessary to heat-sink the MOSFETs on the shield.
Be sure to size your input power supply accordingly for the number of 1W LEDs in the chain.
Download the Arduino Library:
Download the latest zip file or take a look under the hood in our GitHub repository.